I still remember the first time I tasted pea mash. I was at a quaint little bistro in London, seated outdoors on a summer afternoon. There it was, a vibrant green mound, paired with succulent fish and crispy chips.
What a match!
Pea mash is not just a side dish; it’s a celebration of flavors, and it adds a refreshing twist to many meals. Picture this: crispy fish and chips, roast chicken, or even a savory shepherd’s pie sitting beside a bowl of pea mash.
It’s nothing short of heavenly.

What is Jamie Oliver’s Pea Mash?
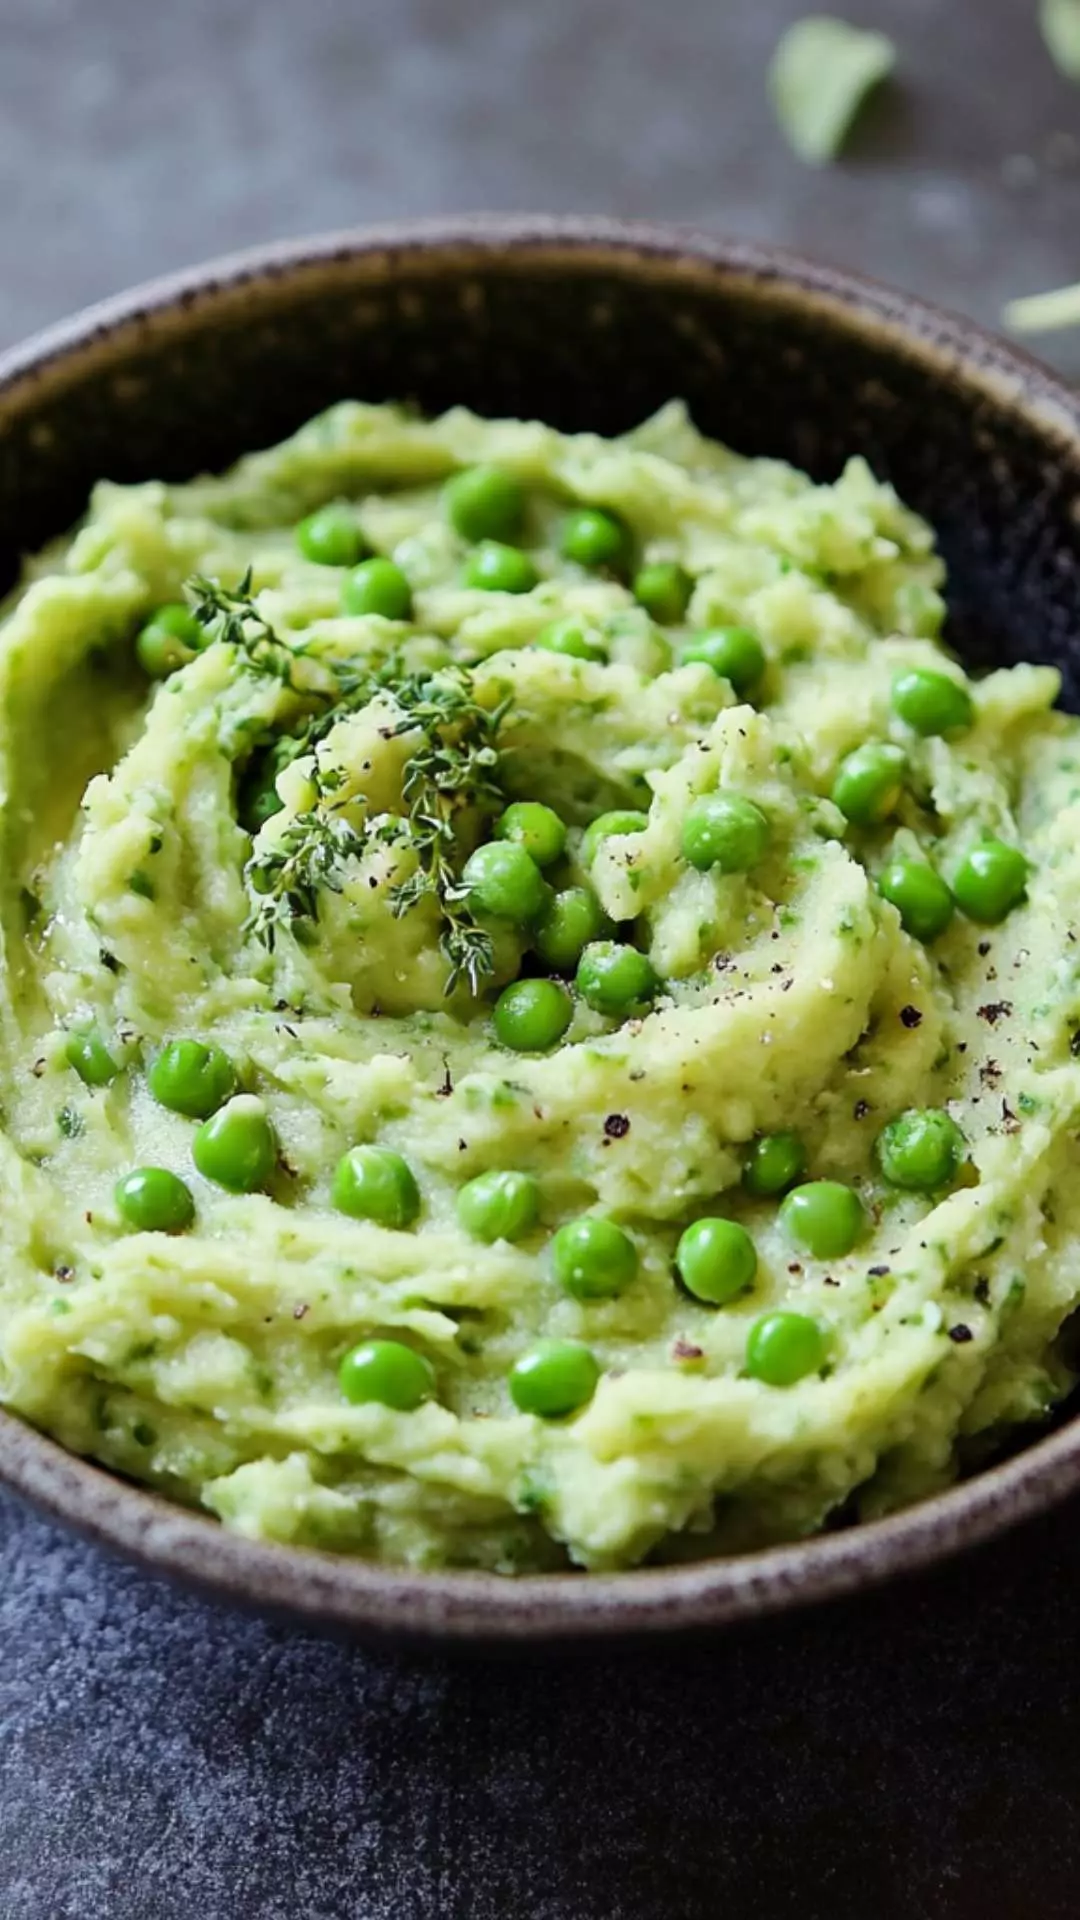
Jamie Oliver’s pea mash is a surprisingly simple yet incredible dish. It takes frozen peas and transforms them into a luscious, creamy side that’s packed with flavor. It’s bright, it’s beautiful, and it can elevate your dinner table instantly.
The combination of fresh mint, spring onions, and a hint of lemon zest brings a new dimension to what some might consider just a simple green puree. Plus, it’s quick and easy to whip up, making it a fantastic choice for busy home cooks.
The Ingredients
Here’s what you need for this delightful dish:
- 1 pound (500 grams) frozen green peas
- 2 tablespoons extra virgin olive oil
- 1 bunch of spring onions, finely chopped
- 2 generous knobs of unsalted butter
- 1 teaspoon of honey
- Sea salt and freshly cracked black pepper, to taste
- 1 small handful of fresh mint, leaves removed from stems
- 1/4 teaspoon of lemon zest
These ingredients make the magic happen!

How to Make Jamie Oliver’s Pea Mash?
Let’s take a sneak peek at how to create this fabulous dish. The process is straightforward and enjoyable. You’ll find that preparing this mash takes hardly any time at all, leaving you free to focus on the main dish.
Step by Step Directions
Step 1: Prepare Your Peas
Start by boiling a pot of salted water. Once it’s bubbling, toss in the frozen peas. They only need about 3 to 4 minutes until they’re bright green and tender. For a twist, you can also steam them if you prefer to retain more of their nutrients.
Step 2: Drain and Cool
Once the peas are ready, drain them in a colander. Let them cool briefly. This cooling down process helps you handle them easily without burning those fingers.
Step 3: Blend the Peas
Now, transfer the peas to a food processor. Add the olive oil, spring onions, butter, and honey. Blend until smooth. You can adjust the consistency according to your taste. Want it creamy? Blend longer. Prefer some texture? Pulse a few times.
Step 4: Season to Taste
Taste your mash—now is the fun part! Add sea salt, freshly cracked black pepper, mint, and lemon zest. Blend again for just a few seconds until everything’s mixed. Adjust with more salt or pepper if needed.
Step 5: Serve It Up
Transfer the pea mash to a serving bowl. You can drizzle a little more olive oil on top for extra flair. Instant culinary cred!
Notes
Here are a few helpful tips to get the most out of your pea mash:
- Use Fresh Peas When Available: If you have access to fresh peas, they can elevate the dish even further.
- Variations with Herbs: Feel free to experiment with other herbs like basil or dill if mint isn’t to your liking.
- Consistency Matters: Customize the creaminess to fit your palate. A little extra butter can work wonders!
- Make It a Meal: Add cooked chicken or smoked salmon on top for a delicious main dish.
- Dress It Up: A sprinkle of crumbled feta or Parmesan adds a nice touch.
Storage Tips
If you happen to have any leftovers (which is unlikely!), store them in an airtight container in the fridge for up to three days. The flavors tend to deepen after a day in the fridge, but do give it a quick stir before serving again.

Serving Suggestions
Now, let’s talk about how to enjoy this delightful dish!
- With Fish and Chips: Serve the creamy pea mash alongside crispy battered fish and golden fries. It complements the dish beautifully.
- As a Side for Roast Chicken: The freshness of the pea mash pairs wonderfully with the savory flavor of roast chicken. A perfect match!
- With Beef Pie: Who can resist a good beef or lamb pie? Pea mash adds a light contrast to the richness.
- On Toast: Spread it on toasted bread or crostini for an appetizer. Top it with a poached egg for an indulgent brunch.
- With Grilled Veggies: Add a dollop of pea mash next to some grilled vegetables for a colorful and healthy plate.
What Other Substitutes Can I Use in Jamie Oliver’s Pea Mash?
If you want to mix it up, here are a few substitutes that can work well in pea mash:
- Edamame Beans: For a slightly nuttier flavor, swap out the peas for blanched edamame.
- Sweet Corn: Add sweetness and a pop of color by mixing in some sweet corn.
- Broccoli or Spinach: For a greener, more nutrient-dense mash, try blending in steamed broccoli or spinach.
- Avocado: This will create a richer texture and a lovely creaminess. Just mash it up with the peas.
- Cauliflower: Cook and blend cauliflower with peas for an alternative texture and flavor.
Jamie Oliver Pea Mash Recipe
Ingredients
Equipment
Method
- Start by boiling a pot of salted water. Once it’s bubbling, toss in the frozen peas. They only need about 3 to 4 minutes until they’re bright green and tender. For a twist, you can also steam them if you prefer to retain more of their nutrients.
- Once the peas are ready, drain them in a colander. Let them cool briefly. This cooling down process helps you handle them easily without burning those fingers.
- Now, transfer the peas to a food processor. Add the olive oil, spring onions, butter, and honey. Blend until smooth. You can adjust the consistency according to your taste. Want it creamy? Blend longer. Prefer some texture? Pulse a few times.
- Taste your mash—now is the fun part! Add sea salt, freshly cracked black pepper, mint, and lemon zest. Blend again for just a few seconds until everything’s mixed. Adjust with more salt or pepper if needed.
- Transfer the pea mash to a serving bowl. You can drizzle a little more olive oil on top for extra flair. Instant culinary cred!
Nutrition
Notes
- Use Fresh Peas When Available: If you have access to fresh peas, they can elevate the dish even further.
- Variations with Herbs: Feel free to experiment with other herbs like basil or dill if mint isn’t to your liking.
- Consistency Matters: Customize the creaminess to fit your palate. A little extra butter can work wonders!
- Make It a Meal: Add cooked chicken or smoked salmon on top for a delicious main dish.
- Dress It Up: A sprinkle of crumbled feta or Parmesan adds a nice touch.
Tried this recipe?
Let us know how it was!Frequently Asked Questions
Conclusion
Jamie Oliver’s pea mash is a simple yet transformative dish. It brings energy to the table and complements various meals. Whether you’re hosting a gathering or just looking for a quick side, this recipe ticks all the boxes.
With vibrant flavors and ease of preparation, it’s bound to become a staple in your kitchen. So, gather your ingredients, roll up your sleeves, and have fun with it.
Cooking should be enjoyable, and with recipes like this, it truly can be! Happy eating!