Ingredients
Method
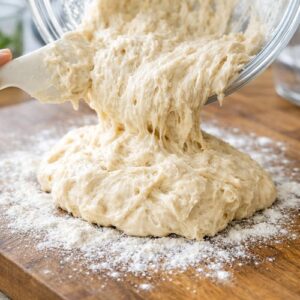
Step 1: Mix Your Dough Together
- Pour your water into a large mixing bowl. Add the yeast and let it sit for about a minute—this gives the yeast a chance to hydrate and start waking up. In the same bowl, combine your flour, salt, and sugar if you're using it. I like to whisk these dry ingredients together first, right in the bowl, which helps distribute the yeast and salt evenly. Now here's where things get easy. Use the handle of a wooden spoon (or a sturdy rubber spatula) to mix everything together. You're not kneading. You're just combining. Stir until every bit of flour is incorporated into the water. The dough will look wet, shaggy, and honestly kind of unappetizing. It should be wetter than normal bread dough but not runny like cake batter. If it looks too dry, add water one tablespoon at a time. If somehow it's too wet, sprinkle in a bit more flour. Once everything is combined, you're done with this step. Seriously. That took maybe three minutes, and your dough is officially ready to rise.

Step 2: The First Rise—Let Time Do the Work
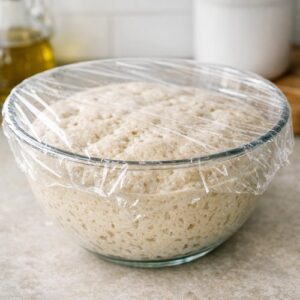
- Cover your bowl with plastic wrap, a kitchen towel, or even a plate. Leave it on the counter at room temperature. Now you wait. This is the hard part for us impatient humans. Over the next 2 to 3 hours, something beautiful happens. The dough will more than double in volume. It'll look wobbly, jiggly, almost gelatinous—like dough-flavored Jello. The top will be bubbly with gas bubbles. Some of those bubbles might pop, creating little craters on the surface. This is all exactly what you want. If you're in a cool kitchen and nothing seems to be happening after an hour, move the bowl somewhere warmer. A sunny windowsill works. An oven with the light on works. Even the top of your refrigerator creates a slightly warmer microclimate. You're looking for rise, not heat. This waiting period is when your bread develops flavor. The long fermentation creates complex tastes you simply can't get from a quick rise.
Step 3: Choose Your Path—Bake Today or Refrigerate for Later
- This is where this recipe becomes a game-changer for real life. You have two options, and both work beautifully. Option A: Bake immediately - Skip to Step 5 and keep going. Your bread will be ready in about an hour. Option B: Refrigerate for flavor development - Cover your risen dough and place the whole bowl in the refrigerator. You can keep it there for up to 3 days. The cold slows fermentation way down, allowing deeper flavor development and actually making it easier to work with when you bake. This is my preferred method on weekends when I want fresh bread on a specific day. Thursday morning I mix it, and Sunday morning I bake it. If you're refrigerating, you absolutely must take it out and let it come to room temperature before baking. Leave the covered bowl on the counter for 45 to 60 minutes while your oven preheats. Cold dough won't rise properly in the oven.
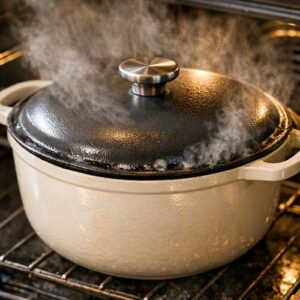
Step 4: Preheat Your Oven and Dutch Oven
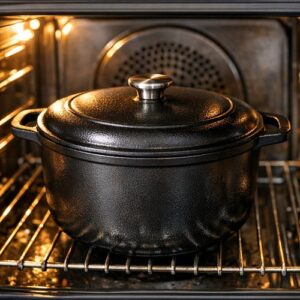
- This step happens while your dough is warming up if you refrigerated it, or right before shaping if you didn't. Place your Dutch oven (with the lid on) in your oven. Set your oven to 450°F (230°C, or 220°C if you have a fan-forced oven). Let everything preheat together for at least 30 minutes. You want that pot absolutely screaming hot. This heat creates the steam that gives you that gorgeous crust. If you don't have a Dutch oven, don't stress. You can use a covered baking vessel or even place a rimmed baking sheet upside down over your shaped dough on a regular baking sheet. It's not quite as good at creating steam, but it still works.
Step 5: Shape Your Dough
- Sprinkle your work surface (counter, cutting board, large plate) with about one tablespoon of flour. Scrape your dough out of the bowl. It'll be sticky and loose, which is normal. Sprinkle another half tablespoon of flour on top. Using a dough scraper, cake server, large knife, or even a sturdy spatula, fold the sides of the dough inward. Do this about six times, turning as you go. You're not trying to make it perfect. You're basically deflating some of the big bubbles and gathering it into a vaguely round shape. Don't overthink this. Lopsided is actually better—those irregular shapes create more crunchy bits when baked. Here's a pro tip: The seam side will be rough and ugly, and the smooth side will be beautiful. You want the smooth side facing up when you bake.
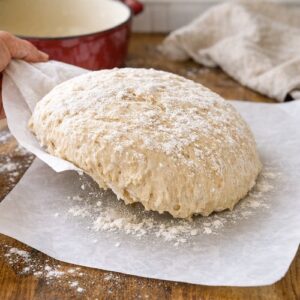
Step 6: Transfer to Your Dutch Oven
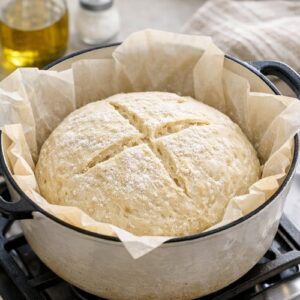
- Cut or tear off a piece of parchment paper (about 12 x 16 inches works great). Slide it next to your dough, then flip the dough upside down onto the paper. The seam side is now down, the smooth side is up. Perfect. Nudge the dough toward the center of the paper and reshape it gently into a round shape if needed. Using the parchment paper as handles, carefully place your dough into the preheated Dutch oven. The pot will be extremely hot—seriously, be careful. The dough will sizzle slightly. That's good. Put the lid on the pot.
Step 7: Bake Covered, Then Uncovered
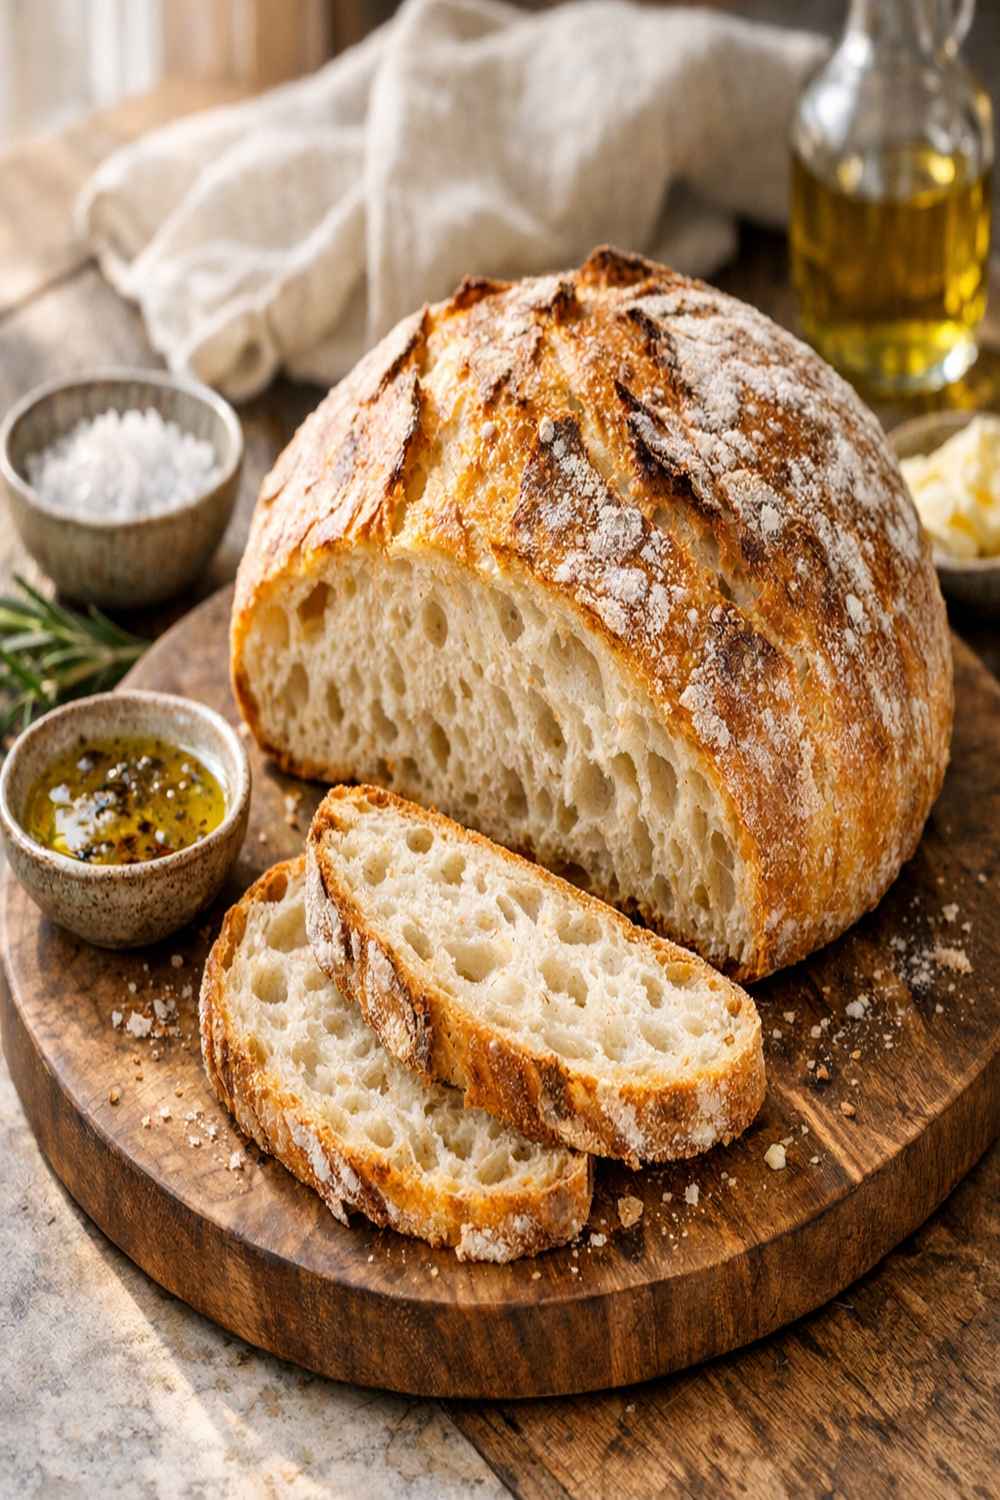
- Bake with the lid on for 30 minutes. During this time, steam builds inside the pot, which is creating that beautiful, crispy crust. Don't peek. I know you want to, but resist. After 30 minutes, carefully remove the lid (steam will escape—watch your face). Bake uncovered for 12 to 15 minutes more, until your bread is deep golden brown and the crust is visibly crispy. The bottom should be dark and sound hollow when you tap it. Remove the bread from the oven and carefully transfer it to a cooling rack using the parchment paper. Let it cool for at least 10 minutes before slicing. I know this is torture. The bread is still cooking internally during cooling, so please be patient.
Nutrition
Notes
- Make it your own with mix-ins - After the first rise, you can fold in herbs, seeds, or even olives. Rosemary and sea salt is my favorite combination. Add these gently so you don't deflate all the bubbles you've worked to create.
- Score your loaf for stunning presentation - Just before putting your dough in the pot, use a sharp knife or baker's lame to score the top with a crosshatch or simple line. This helps control where the bread expands and creates those gorgeous cuts you see in bakery bread.
- The cold rise is your secret weapon - I mentioned this before, but it's worth saying again. Refrigerating your dough for a day or two before baking creates deeper, more complex flavor. The texture actually improves too.
- Toast it the next day - Bread naturally dries out as it sits. By the next morning, it's perfect for toasting. Slice it thick and watch it transform into something even better than fresh.
- Experiment with flours - Once you've nailed this recipe with all-purpose flour, try swapping 10-15% for whole wheat flour. Adds nutty flavor and more fiber without drastically changing the results.
- Use a thermometer if you have one - The internal temperature of fully baked bread should reach 205-210°F. If you're not sure if it's done, this takes the guesswork out.