Ingredients
Method
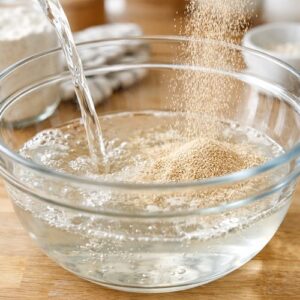
Step 1: Combine Your Wet Base
- Grab a large bowl or container—I use a clear container so I can see the rise happening. Pour in your warm water, add the yeast packet, and sprinkle in your salt. Now grab a whisk and stir this together for about 30 seconds until the yeast and salt are mostly dissolved. You don't need them perfectly dissolved, just mostly incorporated. This mixture should feel warm to your touch but not hot—if it's too hot, you'll kill the yeast. If it's too cool, the rising takes longer.
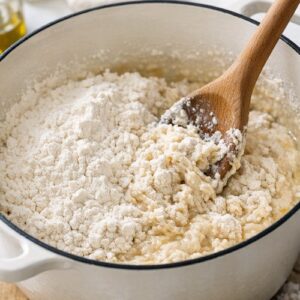
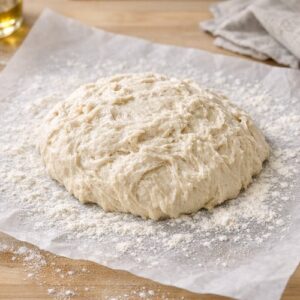
Step 2: Bring the Flour In
- Add all your flour at once directly into the wet mixture. Grab a sturdy spoon or wooden spoon and stir everything together until all the dry flour is incorporated and you have a sticky, shaggy dough. This will look messy. That's correct. You're not going for smooth here—you just want everything uniformly wet. Use a silicone spatula to scrape any bits clinging to your spoon. Here's a pro tip: if your dough looks too wet and soup-like, add 1-2 tablespoons more flour and stir it in. If it looks too dry and crumbly, add water by the tablespoon until it comes together into a wet dough. You want something that looks sticky enough to be slightly challenging to handle, but not so wet that it's basically batter.
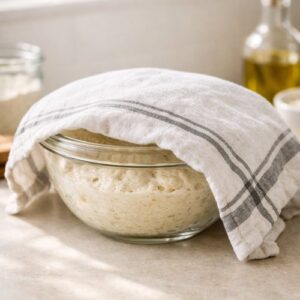
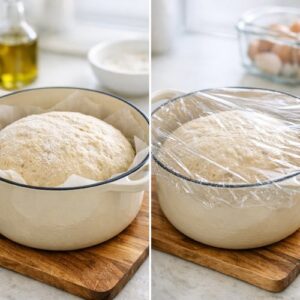
Step 3: Let It Rise (The Waiting Game)
- Cover your bowl with a kitchen towel or loosely place a lid on top. Find a warm spot in your home—your kitchen counter works fine, but if your house is chilly, here's my favorite trick: preheat your oven for five minutes, then turn it off completely. Place your dough bowl inside the turned-off oven and close the door. That trapped warmth creates an ideal rising environment. Now you wait 2-3 hours until the dough roughly doubles in volume. It should look puffy and active. You might even see some bubbles on the surface. If it's cold outside and your house is chilly, it might take closer to three hours. On a warm day, it might be done in two hours. This is flexible, so don't stress if it takes a bit longer.
Step 4: Decide Your Timeline (Bake Now or Chill Later)
- After your rise, you've got options. You can bake it immediately, or you can cover it and refrigerate it for up to 24 hours. I'll explain storage details later, but this flexibility is one of my favorite parts of this recipe.
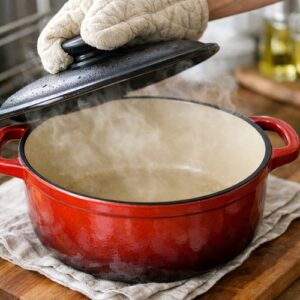
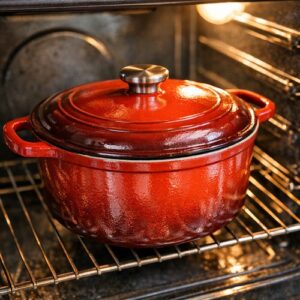
Step 5: Get Your Dutch Oven Screaming Hot
- This step is crucial, so pay attention. Place your Dutch oven (with the lid on) into your oven and preheat to 450 degrees Fahrenheit. Once your oven hits 450, let it keep heating for another 20 full minutes with the Dutch oven inside. You want that pot absolutely hot. This is what creates your steam and that gorgeous crust.
Step 6: Shape and Prep Your Loaf
- While your Dutch oven is preheating, take a piece of parchment paper and dust it generously with flour. Scrape your dough out of the bowl directly onto the floured parchment. Now here's the technique: using a silicone spatula, fold the edges of the dough up and over itself a few times, creating an informal round or oval shape—whatever shape fits your Dutch oven. Once you've got it somewhat gathered, use the edges of the parchment paper to flip the whole thing over. Now the floured side is on top and your loaf sits in the center of the parchment. Don't stress if it's not perfectly smooth or gorgeous on top. This isn't a competition.
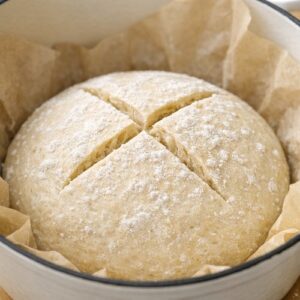
Step 7: Optional But Lovely - Score the Top
- Take a very sharp knife or a clean razor blade and make 2-3 shallow slits across the top of your loaf, about ½ inch deep. I usually do a cross pattern, but you can do whatever makes you happy—straight lines, an X, whatever. These scores look beautiful and they give the bread room to expand as it bakes. This is totally optional, but I recommend it because the visual impact is fantastic.
Step 8: Transfer to Your Hot Dutch Oven
- This is the only moment that requires a little care. Carefully remove your preheated Dutch oven from the oven (watch out—it's hot!). Take off the lid and set it aside. Now grab your parchment paper by the sides and gently place your dough into the hot Dutch oven. It should sizzle slightly—that's the sound of success. The dough will start cooking immediately from the heat of that pot.
Step 9: Bake Covered
- Place the Dutch oven lid back on and put the whole thing back in your 450-degree oven on the center rack. Bake for 35 minutes with the lid on (or 40 minutes if your dough came straight from the fridge). The lid keeps the steam trapped, which is creating that perfect crust.
Step 10: Finish Until Golden
- After your covered time, carefully remove the lid (watch for the steam!). You want the bread to bake uncovered for another 5-10 minutes until it turns a gorgeous golden brown color. If you want it darker and crunchier, go closer to 10 minutes. If you prefer a lighter crust, hit it at 5 minutes. The color will deepen slightly as it cools.
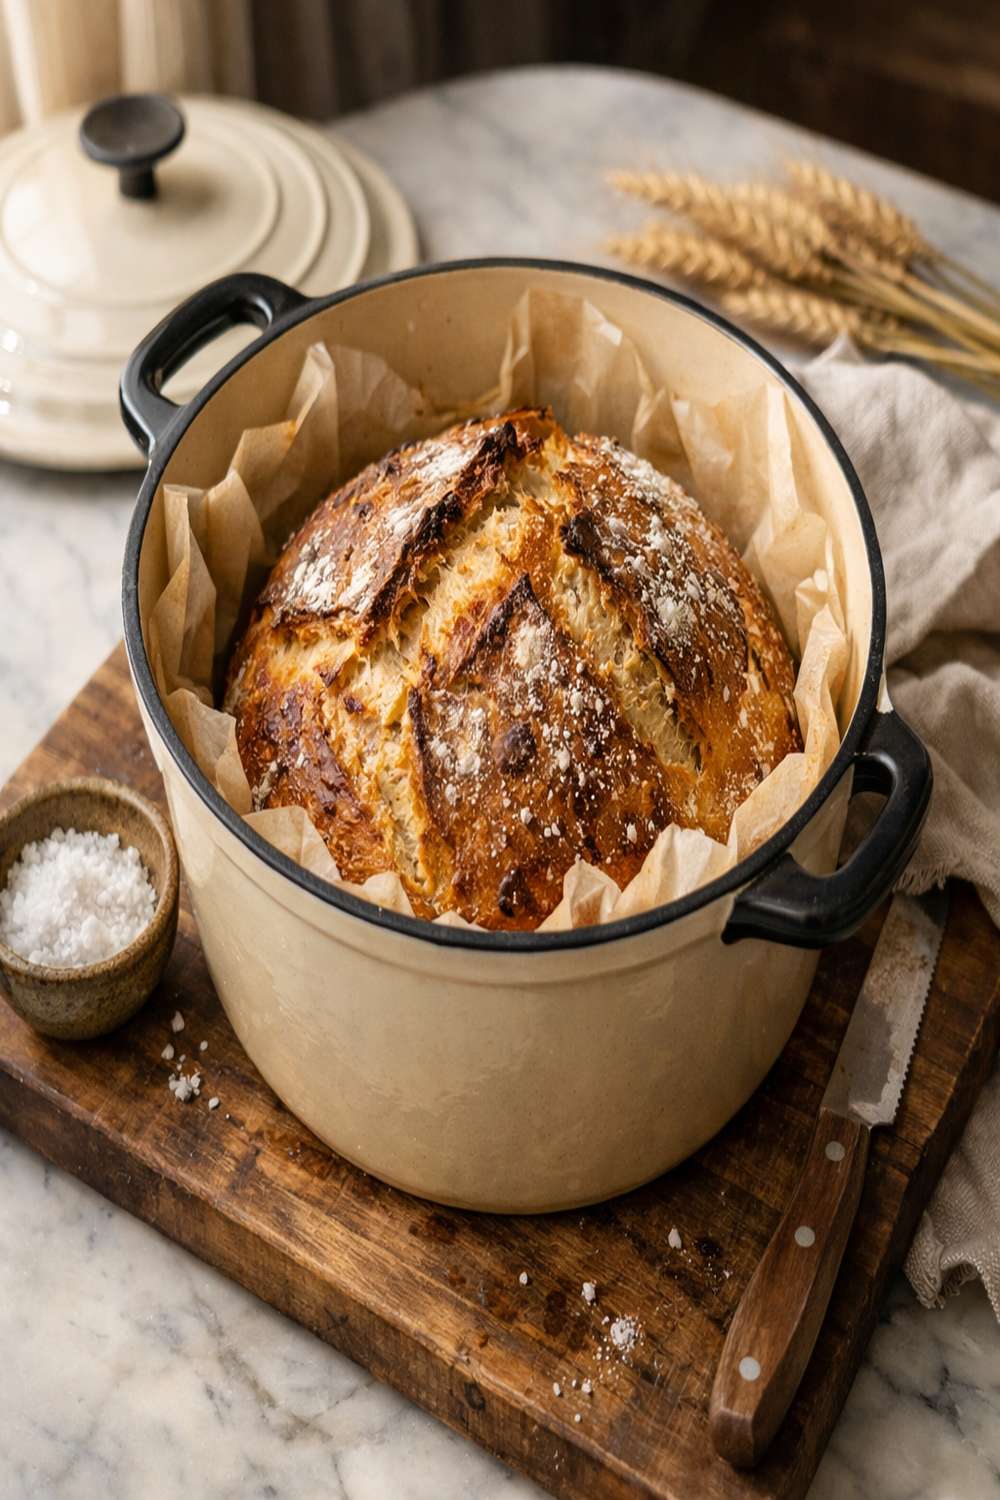
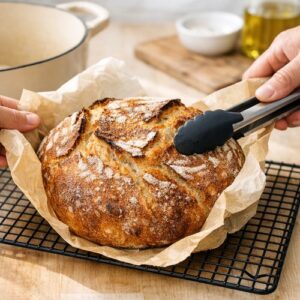
Step 11: Cool Before Slicing
- Using the parchment paper sides or a pair of tongs, carefully remove your bread from the Dutch oven and place it on a wire rack or cutting board. This is where patience pays off. Wait at least 10 minutes before slicing, though 30 minutes to an hour is ideal if you can manage it. I know it's tempting to cut into it immediately—the steam rises off it so beautifully—but cutting it too soon will result in a gummy interior. The crumb needs time to set.
Nutrition
Notes
- Water temperature matters - Water that's too cold won't activate your yeast fast enough. Water that's too hot will kill it. Around 100 degrees is perfect. If you don't have a thermometer, it should feel warm but not hot to your wrist.
- Your Dutch oven size impacts shape - I have an oval Dutch oven so I make oval loaves. You have a round one? Make a round loaf. It doesn't affect the baking, just the final presentation.
- Skip the parchment if you're comfortable - Once you've made this a few times, you can skip the parchment paper and just dust your Dutch oven bottom with flour. It saves a step and works beautifully.
- The scoring is totally optional - It looks fancy and helps the bread expand evenly, but plenty of people skip this step and still get gorgeous bread. Do what feels right to you.
- Store your finished loaf properly - Once completely cool, keep it in a paper bag or bread box on your counter. This keeps the crust crispy while letting the interior stay soft. Avoid plastic bags if you want to maintain that crust.
- Use your oven's warming drawer - If your oven has a warming drawer, that's an ideal rising spot. It maintains consistent heat without being too hot.