There’s nothing quite like a hearty meal complemented by some fresh, vibrant greens. One of my go-to sides is Jamie Oliver’s collard greens, a dish that’s as healthy as it is flavorful.
A plate of perfectly cooked jerk chicken beside a generous serving of collard greens, their richness balancing the spicy kick of the chicken. It’s a match made in culinary heaven and speaks volumes about how greens can elevate any dish.
And let me tell you, there’s nothing like the satisfaction of knowing you’re enhancing your family’s meals with wholesome vegetables.

What Are Jamie Oliver’s Collard Greens?
Jamie Oliver is no stranger to championing healthy eating. His recipe for collard greens showcases this leafy vegetable in a way that makes it irresistible, even for those unaccustomed to greens.
Collard greens are packed with vitamins A, C, and K. They are also rich in fiber, making them a fantastic addition to any meal. Jamie’s version takes the classic preparation of these greens and thrusts it into the limelight, highlighting their unique texture and flavor without overwhelming simplicity.
The Ingredients
Here’s what you’ll need to create this delightful dish, perfect for your next family dinner or BBQ:
- 2 generous handfuls of arugula (rocket)
- 2 generous handfuls of chicory greens
- 2 generous handfuls of silverbeet leaves
- Extra virgin olive oil
- 1 tablespoon balsamic vinegar
- 2 plump garlic cloves, peeled and thinly sliced
- Sea salt and freshly cracked black pepper
- ½ a fresh lemon
- A small handful of toasted pine nuts
Assembling these ingredients is the first step toward your culinary masterpiece. But keep in mind, high-quality olive oil makes a noticeable difference in this recipe.

How to Make Jamie Oliver’s Collard Greens
Before we dive into the cooking process, let’s set the scene. Imagine a sunlit kitchen, the scent of garlic wafting through the air. What lies ahead is not just cooking, but a fun culinary experience. Ready to bring this dish to life? Let’s go!
Step 1: Prepare the Greens
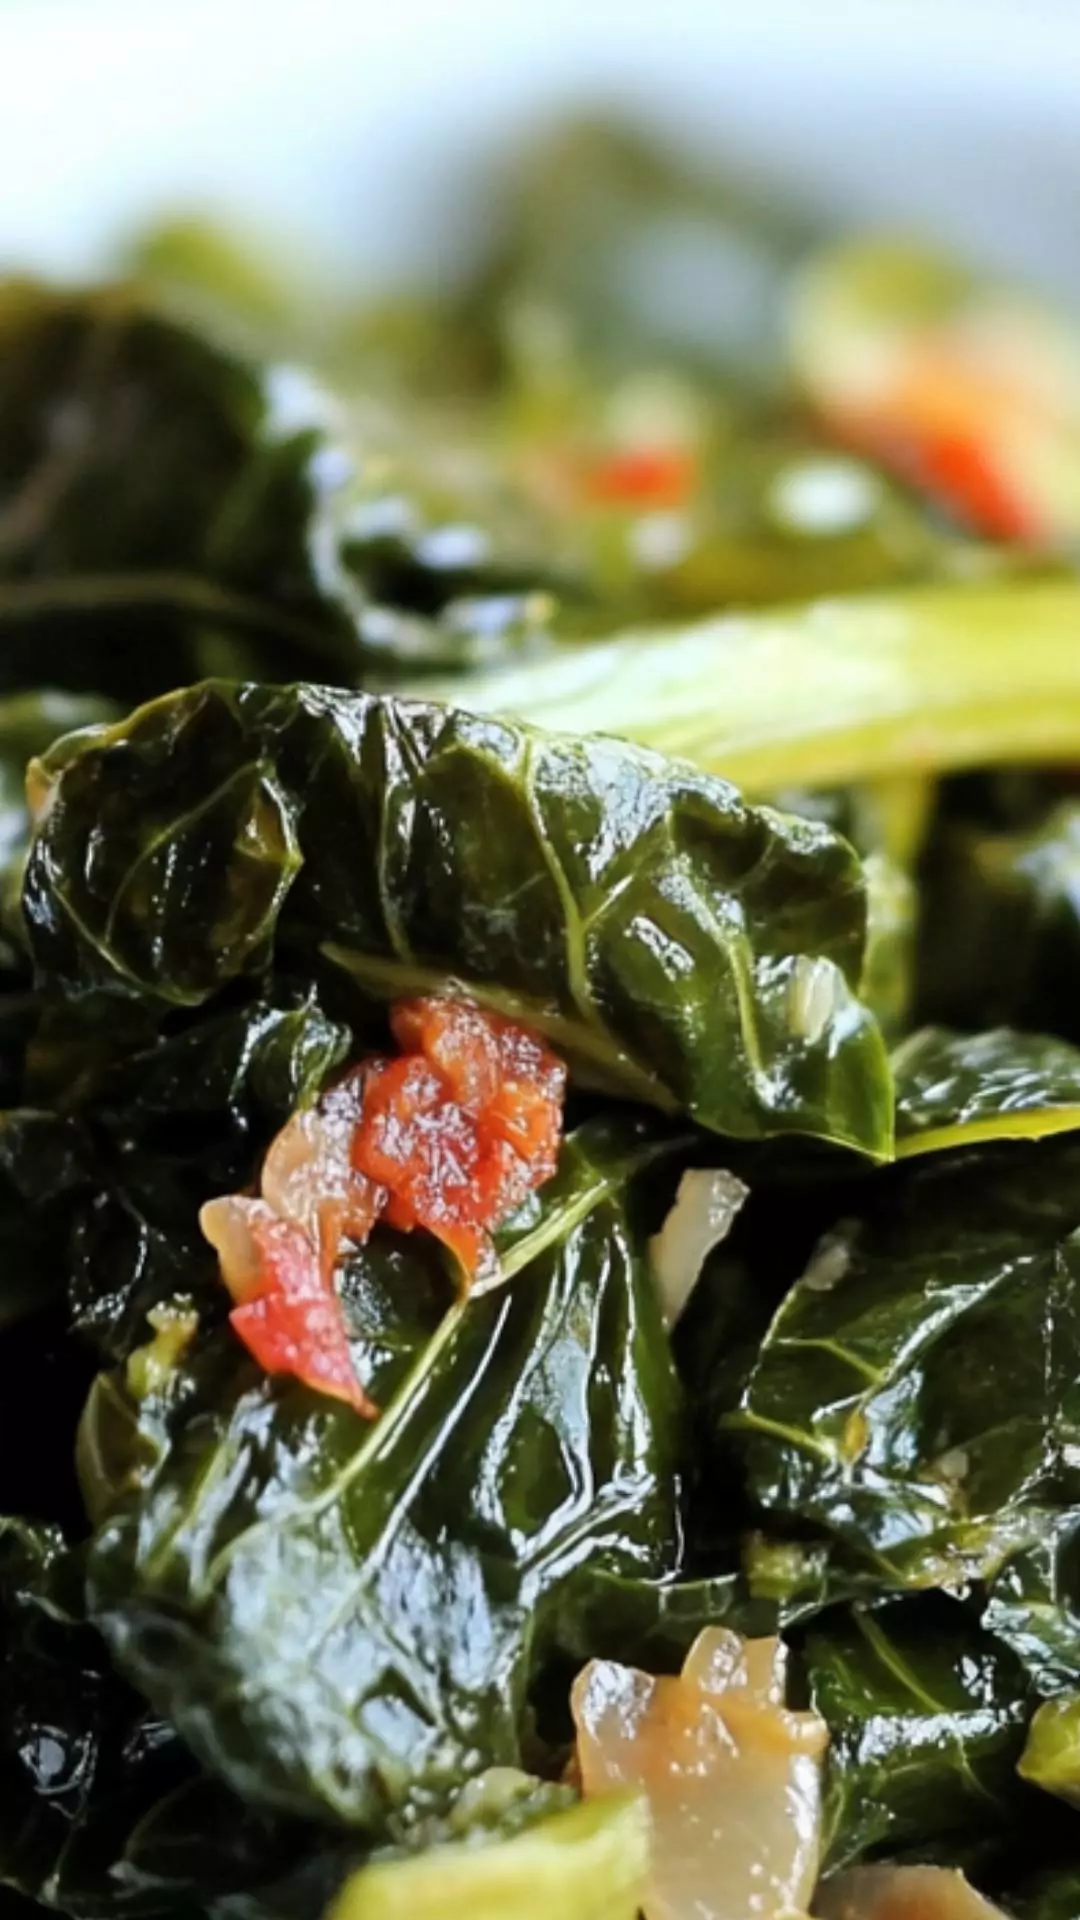
Start by washing your collard greens thoroughly. Remove any stems you can see, as they can be quite tough. Then roughly chop the greens into bite-sized pieces. Trust me, this makes eating them a lot more enjoyable.
Step 2: Heat Your Oil
In a large pan, heat a generous splash of extra virgin olive oil over medium heat. You want it just hot enough to sizzle but not so hot that the oil smokes. This step lays the groundwork for a flavor-packed sauté.
Step 3: Add the Garlic
Once your oil is ready, toss in your thinly sliced garlic. Stir it around for about 30 seconds, allowing it to infuse the oil with its aromatic goodness. Watch closely—it can go from perfectly golden to burnt in a matter of moments.
Step 4: Sauté the Greens
Next, add your collard greens to the pan. Toss them in the oil and garlic until coated. They should begin to wilt and soften. This process only takes a few minutes. It’s magical to see the transformation from fresh and crisp to tender and silky.
Step 5: Season
Season your greens with sea salt and freshly cracked black pepper. Squeeze in half a fresh lemon. The acidity will brighten the dish and draw out the flavors beautifully. Stir everything together, allowing the greens to soak up the seasoning.
Step 6: Add the Nuts
Finally, toss in a handful of toasted pine nuts. These not only add crunch but also a lovely nutty flavor that complements the greens perfectly. Give everything one last toss, and you’re done!
Notes
Here are some tips to ensure your collard greens shine:
- Wash thoroughly: Sand and grit can hide in leafy greens, so rinsing under cold water is crucial.
- Don’t rush your cooking: Allow the greens to cook long enough to become tender but still vibrant in color.
- Fresh is best: Use fresh greens whenever possible for optimal flavor and nutrition.
- Experiment! Feel free to swap in different nuts or try adding chili flakes for heat.
- Make ahead: Collard greens can be prepared a day in advance. Just reheat and serve.
Storage Tips
If you happen to have leftovers, don’t worry. These greens can be stored in an airtight container in the fridge for up to three days. Just reheat gently on the stove. While they do lose some of their freshness, the flavors remain robust.

Serving Suggestions
Looking for ways to enjoy your collard greens? Here are some tasty pairings:
- Jerk Chicken: The spicy, savory notes of jerk chicken complement the greens beautifully.
- Grilled Salmon: The rich flavor of salmon pairs nicely with the earthiness of collard greens.
- Roasted Vegetables: Try serving with a medley of seasonal roasted veggies for a vibrant plate.
- Quinoa Salad: The nuttiness of quinoa can be a delightful contrast to the greens.
- Pulled Pork: Collard greens provide a fresh contrast to the richness of pulled pork sandwiches.
What Other Substitutes Can I Use in Jamie Oliver’s Collard Greens?
Sometimes you might not have everything on hand. Here are some alternatives you can try:
- Kale: A readily available alternative, kale offers a similar texture and nutrition profile.
- Swiss Chard: With its bright stems, Swiss chard can add a nice splash of color to your plate.
- Spinach: Use fresh spinach for a milder flavor and quicker cooking time.
- Mustard Greens: These can add a peppery kick that’s quite enjoyable.
- Broccoli Greens: Often overlooked, these can be a fabulous substitute for a similar taste experience.
Jamie Oliver Collard Greens Recipe
Ingredients
Equipment
Method
- Start by washing your collard greens thoroughly. Remove any stems you can see, as they can be quite tough. Then roughly chop the greens into bite-sized pieces. Trust me, this makes eating them a lot more enjoyable.
- In a large pan, heat a generous splash of extra virgin olive oil over medium heat. You want it just hot enough to sizzle but not so hot that the oil smokes. This step lays the groundwork for a flavor-packed sauté.
- Once your oil is ready, toss in your thinly sliced garlic. Stir it around for about 30 seconds, allowing it to infuse the oil with its aromatic goodness. Watch closely—it can go from perfectly golden to burnt in a matter of moments.
- Next, add your collard greens to the pan. Toss them in the oil and garlic until coated. They should begin to wilt and soften. This process only takes a few minutes. It’s magical to see the transformation from fresh and crisp to tender and silky.
- Season your greens with sea salt and freshly cracked black pepper. Squeeze in half a fresh lemon. The acidity will brighten the dish and draw out the flavors beautifully. Stir everything together, allowing the greens to soak up the seasoning.
- Finally, toss in a handful of toasted pine nuts. These not only add crunch but also a lovely nutty flavor that complements the greens perfectly. Give everything one last toss, and you’re done!
Nutrition
Notes
- Wash thoroughly: Sand and grit can hide in leafy greens, so rinsing under cold water is crucial.
- Don’t rush your cooking: Allow the greens to cook long enough to become tender but still vibrant in color.
- Fresh is best: Use fresh greens whenever possible for optimal flavor and nutrition.
- Experiment! Feel free to swap in different nuts or try adding chili flakes for heat.
- Make ahead: Collard greens can be prepared a day in advance. Just reheat and serve.
Tried this recipe?
Let us know how it was!Frequently Asked Questions
Conclusion
Creating Jamie Oliver’s collard greens has been a rewarding culinary adventure.
Their rich flavor and impressive nutritional value make them a fantastic addition to your meals. Whether you’re pairing them with jerk chicken or enjoying them on their own, these greens are sure to impress.
So roll up your sleeves and get cooking! Your taste buds will thank you. With just a few simple ingredients, you’re well on your way to mastering a dish that can elevate your dining experience in many delightful ways.
Happy cooking!