Ingredients
Equipment
Method
Step 1: Prepare the Ribs
- First, you’ll want to remove the membrane from the back of the ribs. This thin layer can prevent seasonings from penetrating the meat, so grab a paper towel to help grip it and pull it away. Rinse the ribs under cold water and pat them dry.
Step 2: Season the Ribs
- Now it’s time to get those ribs flavorful. In a bowl, mix together the salt, pepper, garlic powder, onion powder, smoked paprika, and brown sugar. Rub this seasoning mixture generously all over your ribs. Feel free to get your hands messy; it’s part of the fun.
Step 3: Setup the Instant Pot
- Add the water and apple juice or cider vinegar to the bottom of the Instant Pot. If you're using liquid smoke for a stronger flavor, now’s the moment to add it. The liquid is essential for creating steam and tenderizing the meat.
Step 4: Place the Ribs in the Pot
- Now, you’ll want to find a way to fit those ribs inside the pot. You can cut them to fit or arrange them in a "C" shape. The goal is to ensure they are standing on their side so that they cook evenly.
Step 5: Pressure Cook
- Close the lid and ensure the valve is set to “Sealing.” Use the manual or pressure cook setting on high for 25 to 30 minutes. The exact time will depend on the thickness of the ribs.
Step 6: Natural Release
- Once cooking is complete, allow the pressure to release naturally for about 10 to 15 minutes. This step is crucial for keeping your ribs tender.
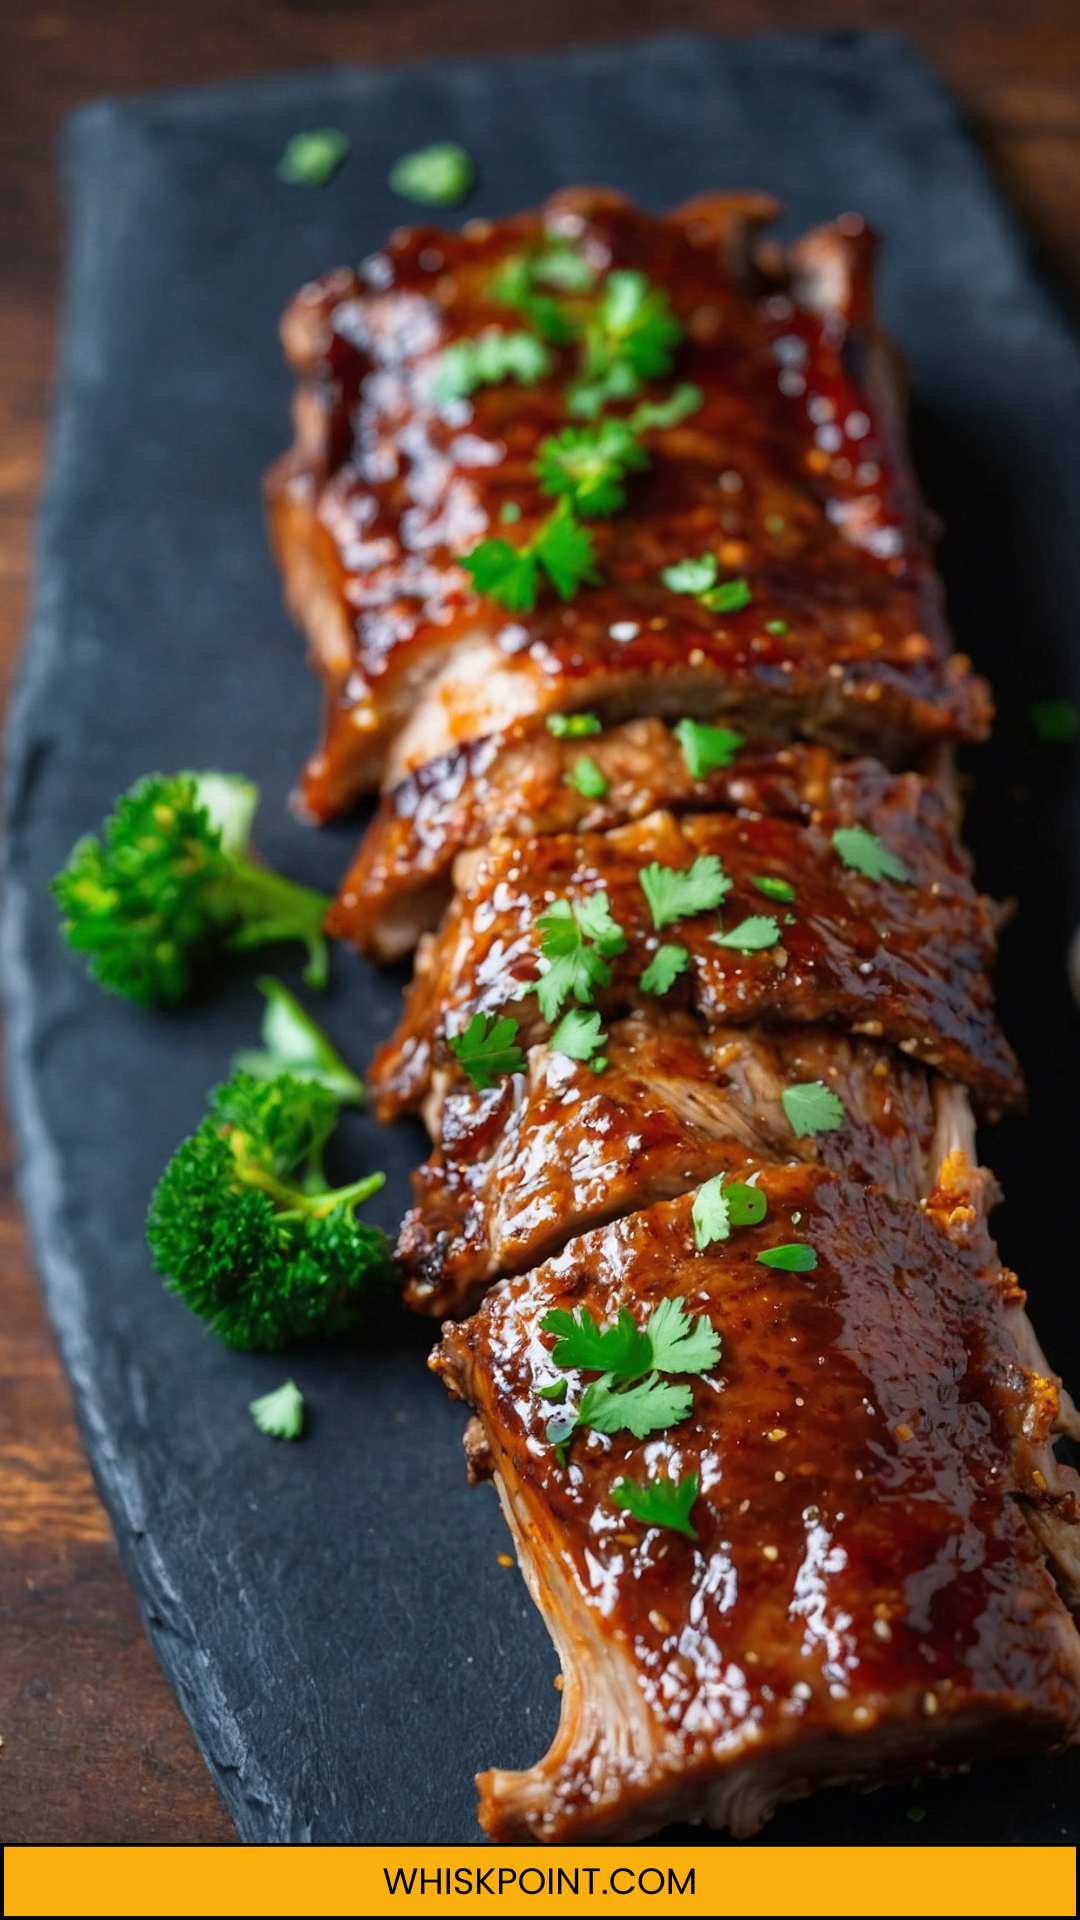
Step 7: Glaze and Broil
- Carefully remove the ribs from the pot and place them on a baking sheet. Brush your favorite barbecue sauce over the top. Preheat your broiler to high and place the ribs under it for about 5 to 10 minutes, watching closely to avoid burning. This step caramelizes the sauce and adds that coveted charred finish.
Nutrition
Notes
- Quality Matters: Choose high-quality ribs for a better flavor experience. Look for well-marbled meat which guarantees tenderness.
- Don’t Skip the Rub: Let the seasoned ribs rest for at least 30 minutes before cooking. This allows the flavors to mingle and penetrate better.
- Experiment with Sauces: Don’t be afraid to try different barbecue sauces or even make your own. Adding fruity elements like peach or pineapple can create exciting twists.
- Save the Juice: Don't discard the cooking liquid! Strain it, reduce it, and use it as a sauce or broth to increase depth in other dishes.