Ingredients
Method
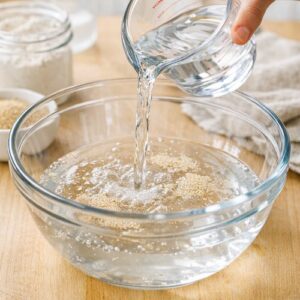
Step 1: Combine Your Wet Ingredients and Yeast
- Pour your 1½ cups of warm water into a large mixing bowl or container. Make sure the water is warm to the touch but not hot—if it's too hot, it kills the yeast. If it's too cool, the yeast won't activate properly. Add your 1 packet (or 2.25 teaspoons) of yeast to the water. Then add your 1½ teaspoons of fine grain salt. Using a whisk, stir everything together for about 30 seconds until the yeast and salt are mostly dissolved or at least broken up. You might see tiny yeast granules, and that's fine. The important thing is that you've mixed everything together well. This only takes about one minute of your time.
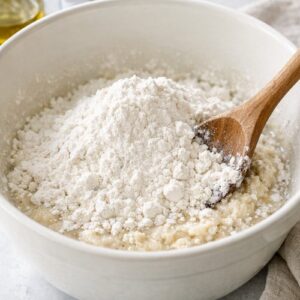
Step 2: Add Your Flour
- Add all 3¼ cups of flour directly to your bowl at once. Don't be shy here—just dump it in. Now use a wooden spoon or sturdy spatula to stir everything together until a shaggy, sticky dough forms. This won't look like traditional dough. It will be messy, lumpy, and honestly kind of wet. That's exactly what you want. Your goal is just to make sure all the dry flour is moistened and incorporated—don't overmix. A silicone spatula is perfect for scraping down the sides and folding everything together. If your mixture seems impossibly wet (like batter rather than dough), add 1-2 tablespoons more flour and stir again. If it seems too dry and crumbly, add 1-2 tablespoons of water. You're aiming for a consistency that's somewhere between a thick batter and a shaggy dough.
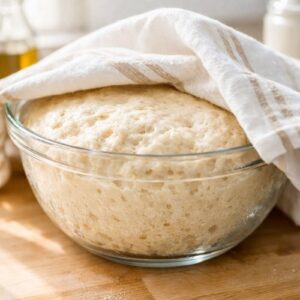
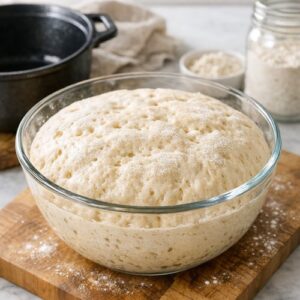
Step 3: Let Your Dough Rise in a Warm Space
- Cover your bowl with a kitchen towel or place the lid slightly ajar if you're using a container with one. Now you wait. This is where the magic happens. Place your bowl in a warm location for 2 to 3 hours until the dough has roughly doubled in volume. If your kitchen is naturally warm (above 72 degrees), just leave it on the counter. If it's chilly outside, I have a trick I use constantly: preheat your oven for just a few minutes at 200 degrees, then turn it completely off. Place your covered bowl inside, and the residual heat creates the perfect warm environment for rising. You can also place the bowl near a sunny window or on top of your refrigerator if it's warm there. The goal is a space around 75-80 degrees, but honestly, the bread isn't that picky. It'll rise even in cooler temperatures—it just takes a bit longer.
Step 4: Decide Your Baking Timeline
- Once your dough has doubled—and you'll be able to see it clearly—you have a decision to make. You can bake it immediately, or you can refrigerate it for later. This is where the recipe becomes truly convenient. If you're baking today, move straight to Step 5. If you want to bake tomorrow or later this week, transfer your bowl to the refrigerator. The cold slows fermentation dramatically, and your dough can live in the fridge for up to 5 days. Cold dough actually develops more flavor, so this isn't a shortcut—it's actually preferable for taste. When you're ready to bake, remove the dough from the fridge about 30 minutes before you want to start the preheating process.
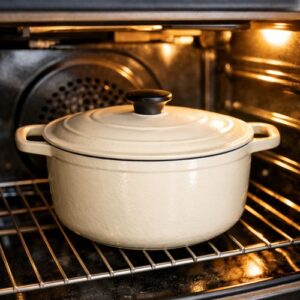
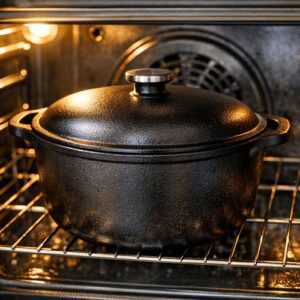
Step 5: Preheat Your Dutch Oven Thoroughly
- This step is crucial and worth doing right. Set your oven to 450 degrees Fahrenheit. Place your Dutch oven inside with the lid on. Let it preheat for 30 minutes to 1 hour. Once your oven reaches 450 degrees, keep it going for another 20 minutes with the Dutch oven still inside. You want that cast iron absolutely screaming hot. This is non-negotiable—a cold Dutch oven won't create the steam and crust you're after. I know this seems like overkill, but when you open that oven door and hear the sizzle of your dough hitting hot metal, you'll understand why.
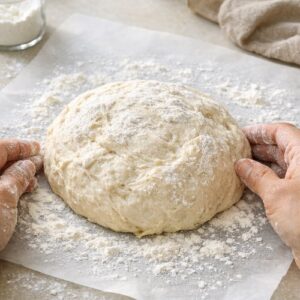
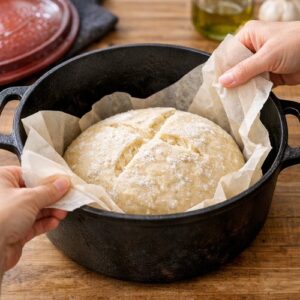
Step 6: Shape Your Dough on Parchment Paper
- While your Dutch oven preheats, prepare your dough for baking. Dust a piece of parchment paper generously with flour. Scrape your dough out of the bowl onto the floured parchment. Don't worry about it being perfectly shaped or smooth. Using a silicone spatula or even your hands, gently fold the edges up on top of itself to create a rustic round or oval shape. The shape doesn't have to be perfect—honestly, the more rustic it looks, the more it looks like artisan bakery bread. Now here's a helpful trick: grab the edges of the parchment paper and flip the entire dough over so the floured side is now on top and the smoother underside faces down. This gives you a nicer presentation when baked.
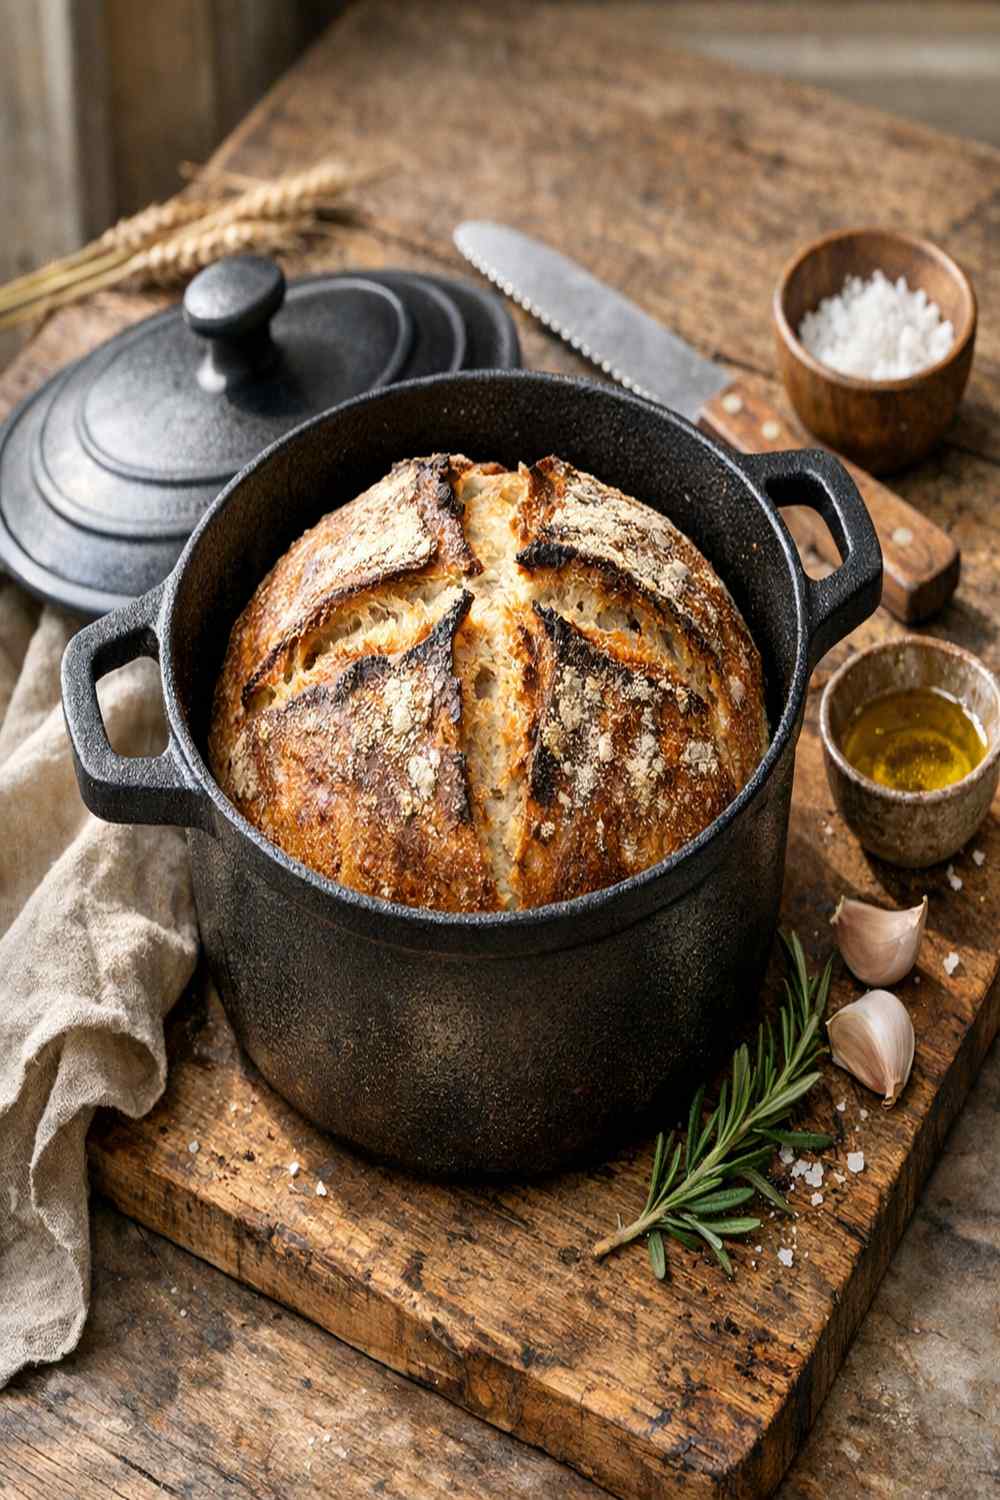
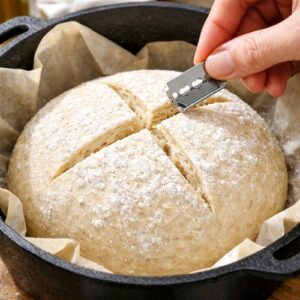
Step 7: Score Your Loaf (Optional But Recommended)
- Using a very sharp knife or a clean razor blade, make a few shallow cuts across the top of your loaf about ½ inch deep. Some people make a cross pattern, others make slashes down the center, and some do a grid. The pattern is purely decorative—what matters is that these cuts allow steam to escape in a controlled way, which helps the bread rise evenly. This step is optional. If you skip it, your bread will still be delicious. But those pretty scores look so professional, and they actually help your bread bake more evenly.
Step 8: Transfer to Your Preheated Dutch Oven
- Carefully remove your Dutch oven from the oven and take off the lid—careful, it's hot. Grab the parchment paper by its edges and gently place your dough directly into the Dutch oven. The parchment paper comes with it, which is fine. It won't burn at 450 degrees. Work quickly but calmly. You want to minimize heat loss, but you also don't want to splash yourself with steam. Place the lid back on the Dutch oven and return it to the oven immediately.
Step 9: Bake with the Lid On
- Place your covered Dutch oven on the center rack of your preheated oven. Bake for 35 minutes at 450 degrees Fahrenheit (or 40 minutes if your dough came straight from the refrigerator). Don't open the oven door during this time. This is when the steam is doing its important work, creating that stunning crust. Just trust the process and wait.
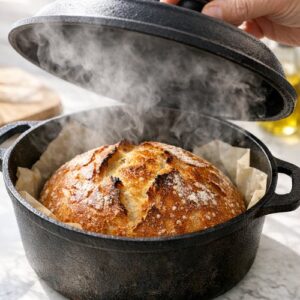
Step 10: Finish Baking Uncovered Until Golden
- After the lid-on time is finished, carefully remove the Dutch oven and take off the lid. Be aware that steam will escape—it's hot and forceful. Step back slightly to avoid a steam burn. Return the uncovered Dutch oven to the oven and bake for another 5 to 10 minutes, watching for a deep golden brown color to develop on top. If your bread isn't brown enough after 10 minutes, give it another 5. Baking times vary based on your oven, so trust your eyes. You're looking for a crust that's deeply browned, almost caramel-colored. The darker it is (without burning), the crispier it will be.
Step 11: Cool Before Slicing
- Using the parchment paper handles, lift the bread out of the Dutch oven and place it on a wire cooling rack or cutting board. Now comes the hardest part: waiting. Let your bread cool for at least 10 minutes before slicing, though ideally 30 minutes to 1 hour. I know it smells incredible and you want to dig in, but this cooling time is important. The crumb (the inside) is still setting, and if you slice too early, the structure will be gummy. When you do slice into it, use a serrated bread knife with a gentle sawing motion. You should hear that satisfying crunch of the crust and see an open, airy crumb structure inside.

Nutrition
Notes
- Invest in a good Dutch oven - You don't need an expensive brand. A $40-60 enameled cast iron Dutch oven works beautifully. The key is that it has a lid that fits snugly and can handle high heat. Lodge and Tramontina are great affordable options.
- Water temperature matters - Use a thermometer if you have one. Aim for 95-105 degrees Fahrenheit. Too hot kills yeast, too cold and it won't activate. Your inner wrist should feel it as comfortably warm, not hot.
- Use fine grain salt, not kosher - The granule size affects how much salt you're actually using. Fine grain salt measures denser, so if you use kosher salt with the same measurement, you'll get less salt. This matters for flavor and dough development.
- Don't skip the parchment paper - It makes transferring the dough to the hot Dutch oven infinitely easier and safer. Yes, you can use it in the oven at 450 degrees—it won't burn.
- Score your loaf, but don't overthink it - A few quick slashes with a sharp knife are all you need. This helps the bread expand evenly and looks beautiful. If you don't have a bread lame (scoring tool), a clean razor blade or the sharpest knife you own works perfectly.
- Listen for the sizzle - When you transfer your cold dough to the hot Dutch oven, you should hear an immediate sizzle. That sound means you've got the right temperature. If there's no sizzle, your Dutch oven wasn't hot enough.