Baked Chicken Barbeque Recipe
Baked chicken barbeque is a classic comfort food that combines juicy chicken with a rich barbecue sauce. It's an easy dish that requires minimal prep but delivers maximum flavor. Whether you’re prepping for a family dinner or a casual gathering with friends, this dish will surely impress everyone at the table.
Print
Pin
Servings: 6
Calories: 348kcal
Equipment
- Rimmed baking sheet
- Meat thermometer
- basting brush
Ingredients
- To create this easy baked chicken barbecue you’ll need:
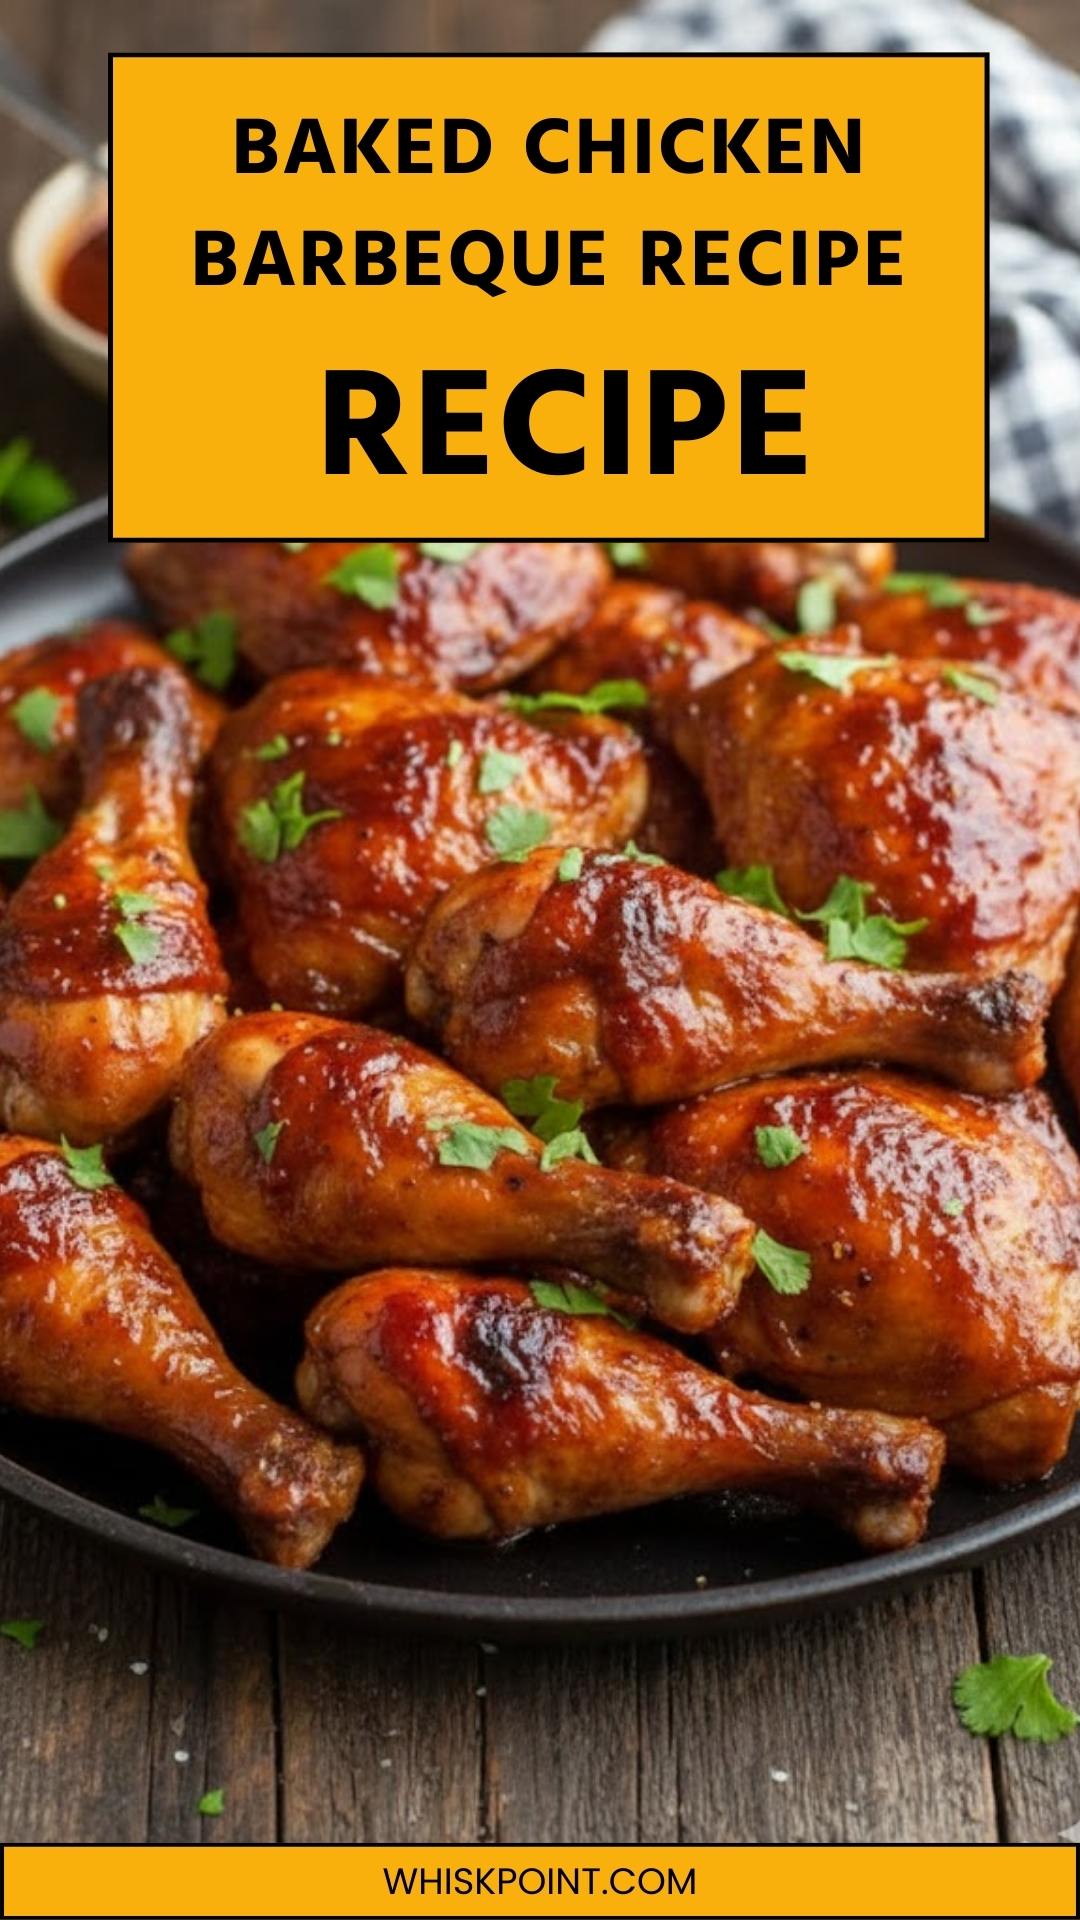
- - 8-10 bone-in chicken thighs and drumsticks skin-on
- - 2 cups barbecue sauce of your choice
- - 2 tablespoons extra-virgin olive oil or canola oil
- - 1 teaspoon garlic powder adds a lovely depth of flavor
- - 1 teaspoon smoked paprika for that grilled essence
- Feel free to adjust the ingredients to suit your taste. You might want to keep your favorite sauces on hand or switch up the spices for your personal touch!
Instructions
Step 1: Preheat the Oven
- Start by preheating your oven to 400 degrees F. This temperature is essential for cooking the chicken evenly, ensuring it gets that delectable golden-brown color.
Step 2: Prepare the Chicken
- While the oven heats up, grab your chicken and place it on a cutting board. Pour the olive oil over the chicken and rub it in well, making sure each piece is coated. Next, sprinkle with salt and pepper according to your taste. This step is crucial for flavoring the chicken.
Step 3: Arrange the Chicken
- Now, place the chicken pieces on a rimmed baking sheet. Lay them skin-side down, leaving some space between each piece to allow for proper airflow and crispiness.
Step 4: Bake the Chicken
- Pop the tray in the oven and let the chicken bake for 25 minutes. This initial bake time allows the bottom to get a head start cooking, making it easier to achieve that crispy skin later.
Step 5: Increase the Temperature
- After 25 minutes, pull the chicken from the oven. Increase the temperature to 425 degrees F. Remember to close the oven door quickly to prevent heat loss—this keeps the chicken cooking evenly.
Step 6: Apply the First Layer of BBQ Sauce
- Using a basting brush, carefully coat the top of each piece of chicken with a generous amount of BBQ sauce. Flip them over gently with a spatula—try not to break the skin as you do! Baste the skin side as well, and return the tray to the oven for another 7 minutes.
Step 7: Repeat the Basting
- After 7 minutes, remove the chicken once more and baste it again on both sides. Return it to the oven for yet another 7 minutes. At this point, your kitchen should smell absolutely divine!
Step 8: Final Basting
- Repeat the previous step once more for a total of three bastings. After cooking for a total of 46 minutes, check for doneness using a meat thermometer. The chicken should reach 165 degrees F, but for darker meat, you might want to aim for 180-190 degrees F for extra tenderness.
Step 9: Crisp Up the Skin
- If the chicken hasn’t developed the crispy skin you desire, place the oven rack closer to the broiler. Turn on the broil setting and watch your chicken closely as it crisps up for about 3-5 minutes.
Step 10: Rest and Serve
- Once it’s cooked to perfection, remove the chicken from the oven and let it rest for about 5 minutes. This resting period allows the juices to redistribute, ensuring each bite is as juicy as possible.
Notes
- Always confirm internal meat temperature, especially when cooking poultry.
- If using a different cut, adjust cooking times accordingly.
- Baste frequently for maximum flavor.
- Try your favorite BBQ sauce variations for different flavor profiles.
- Experiment with herbs and spices to switch it up; rosemary or thyme work well!
Nutrition
Serving: 6g | Calories: 348kcal | Carbohydrates: 29g | Protein: 22g | Fat: 21g | Saturated Fat: 5g | Cholesterol: 86mg | Sodium: 815mg | Sugar: 23g